[Tamiya] Alfa Romeo - Giulia Sprint GTA (WIP)


Commentaires
50 23 December 2023, 05:36
Very good progress! Following. This is one of my favorite cars, I am eager to see the final reveal.
23 December 2023, 10:57
nice and shiny 👍 - I remember the days then Giulias were roaming the streets
23 December 2023, 11:17
Thanks guys.
@Thomas - I'm giddy to think about how cool that street would be.
23 December 2023, 11:31
Fantastic paint job. I have no idea how you did that, it looks like better than the real thing.
23 December 2023, 21:38
The most beautiful alfa of all time
Fantastic painting
And as always enjoy your detailed information about your build
Happy Xmas to you and everyone else
24 December 2023, 10:02
Lovely car and a great result. I like how you also show the little mistakes. It's comforting to know that someone with your excellent skills encounters some setbacks. Anyway, fantastic job. Keep it up!
31 December 2023, 21:52
@CasModeler - I used 'More Modeling's MOMOCHROME' and 'IPP's Medtalic Silver'
Thanks guys~
1 January 2024, 04:01
superb work as usual. Well done! Always tempted to get this kit as the Guilia Sprint is such an iconic car.
2 January 2024, 10:50
Thanks guys. If I can get more one, then I want make it low-sus, over fender, black wheel and yellow body.
2 January 2024, 12:54
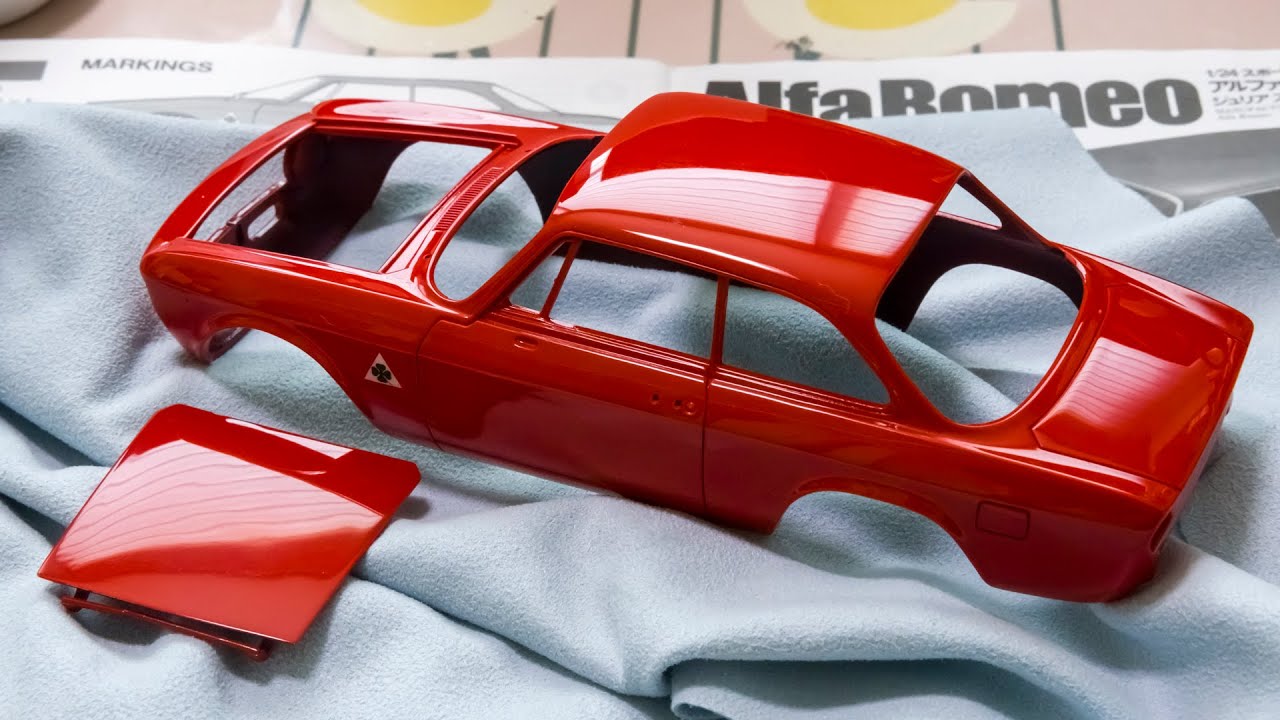
Excellent result. I just received my kit and flipped through your album again. Which color did you use for the body? TS-8?
3 May 2024, 11:53
Oh, I used LP21 Italian Red, which is the same color as TS-8. enjoy it. 😉
3 May 2024, 14:05
Album info
FHD Imges (1/2) - motorart.tistory.com/732
FHD Imges (2/2) - motorart.tistory.com/733
Youtube Video