

Hummer H1- WIP


Commentaires
19 23 November 2024, 07:53
Youtube Video
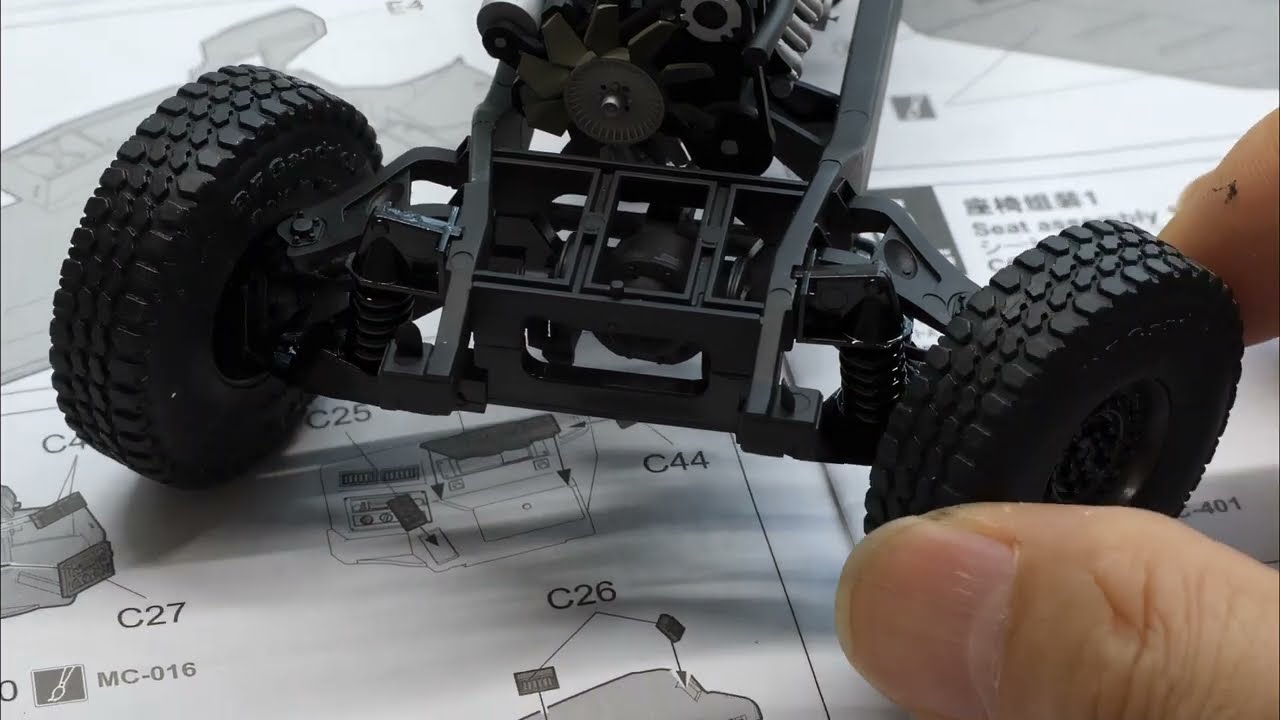
For some reason, the front wheels automatically returned to the center even when the steering was turned.
Even after scraping off all the places where there might be interference between parts, it was the same.
I had no choice but to apply Extra Thin Cement and make it stiff.
25 November 2024, 11:39
Great build of an beast!
Do you paint the clear paints from back? I need to remember this - it looks fantastic 👍
26 November 2024, 14:02
The tail lights of old cars are opaque, so I paint them on the outside, and the clear tail lights of modern cars are painted on the inside.
And even when masking is difficult, it is sometimes painted on the outer surface.
26 November 2024, 16:02
Looks great! I'm struggling with tail lights too. Yours in picture 17 looks amazing. Would you please add the paint you used to your project? So I know what to order....
29 November 2024, 10:05
@yngvenett - I've written it down the color information in the project description now. 😉
29 November 2024, 12:15
Thanks! Ali Express delivers to Norway 😁 should I order a special thinner for these? [sorry for all my questions....]
29 November 2024, 12:51
Thanks guys.
@yngvenett - No problem 😉 All the paints I listed are lacquer-based paints, and I do not recommend lacquer paints for brushing. And looking at your album, I can see that it is painted with a brush. Water-based paints have the worst quality in clear colors.
If you are going to paint with a brush, I recommend using Tamiya X-26, X-27.
This color comes in two types: enamel and alcohol-based. Alcohol-based paints can also be diluted with water.
29 November 2024, 14:47
Thanks again and for saving me from trouble 😬 There will be an airbrush some day, but until then these advices will save me lots of waisted money and space filled with totally useless paint that *almost* look right 😉
29 November 2024, 17:44
Album info
FHD images - motorart.tistory.com/839


