

Tamiya 2.5 Ton 6x6 Cargo Truck


Comentários
10 July 2017, 14:26
Never rusted something, but I know the feeling of working ridicously slowly.
25 July 2017, 07:37
Thanks for the feedback, gents. While taking longer than expected I'm enjoying this kit.
7 August 2017, 14:57
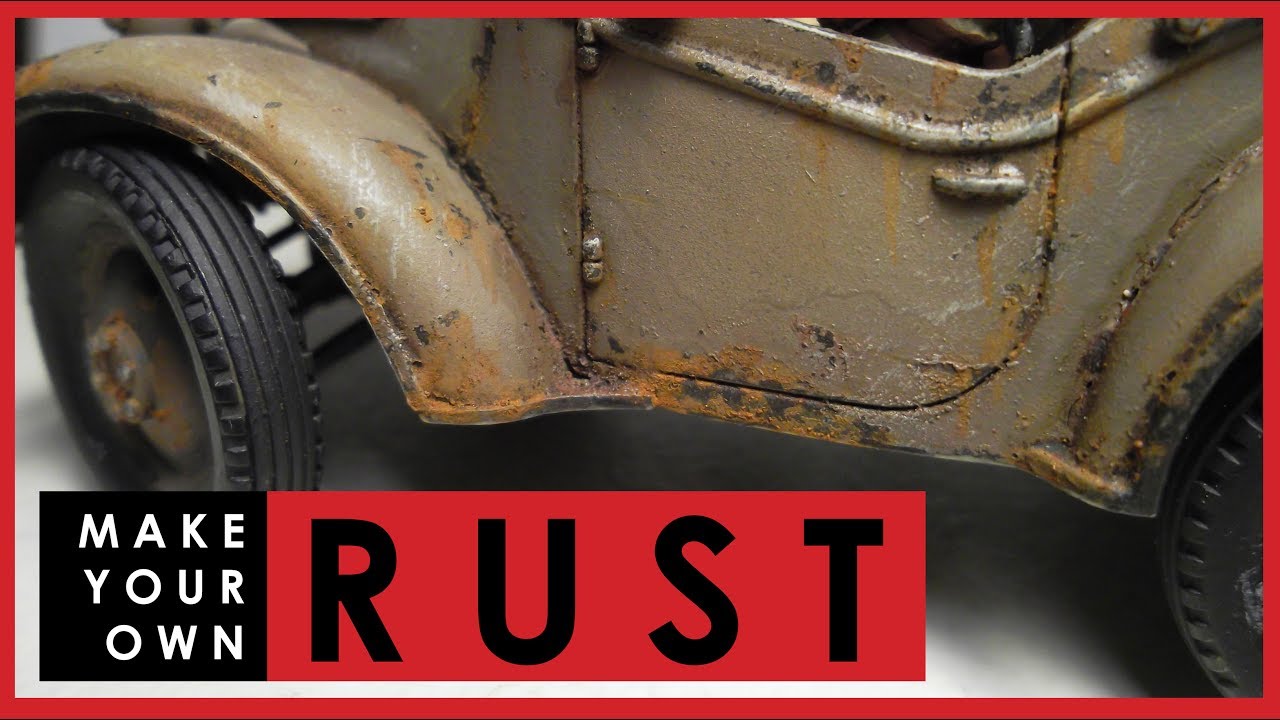
Rust Rust Glorious Rust !! 😄
here's a trick I am definitely going to try at some point ! 🙂
Youtube Video
24 August 2017, 21:39
Cool technique, Choppa. I might just give that a try. Looks like that channel has some other great tips as well. Thanks for bringing it to my attention. Cheers.
25 August 2017, 10:19
Feels good to finish another project. 30 hours total work. Some things here and there I would have liked to have done better, but overall pleased with the results.
9 September 2017, 21:05
Thanks James. I think having a good kit to start with makes a big difference. My next project is a Revell, which I expect to be a bit of a change from the Tamiya kits I've been used to.
9 September 2017, 22:52
Album info
A practice project of sorts, looking to really weather the tar out of this one, using the reference images found here at Scalemates.


