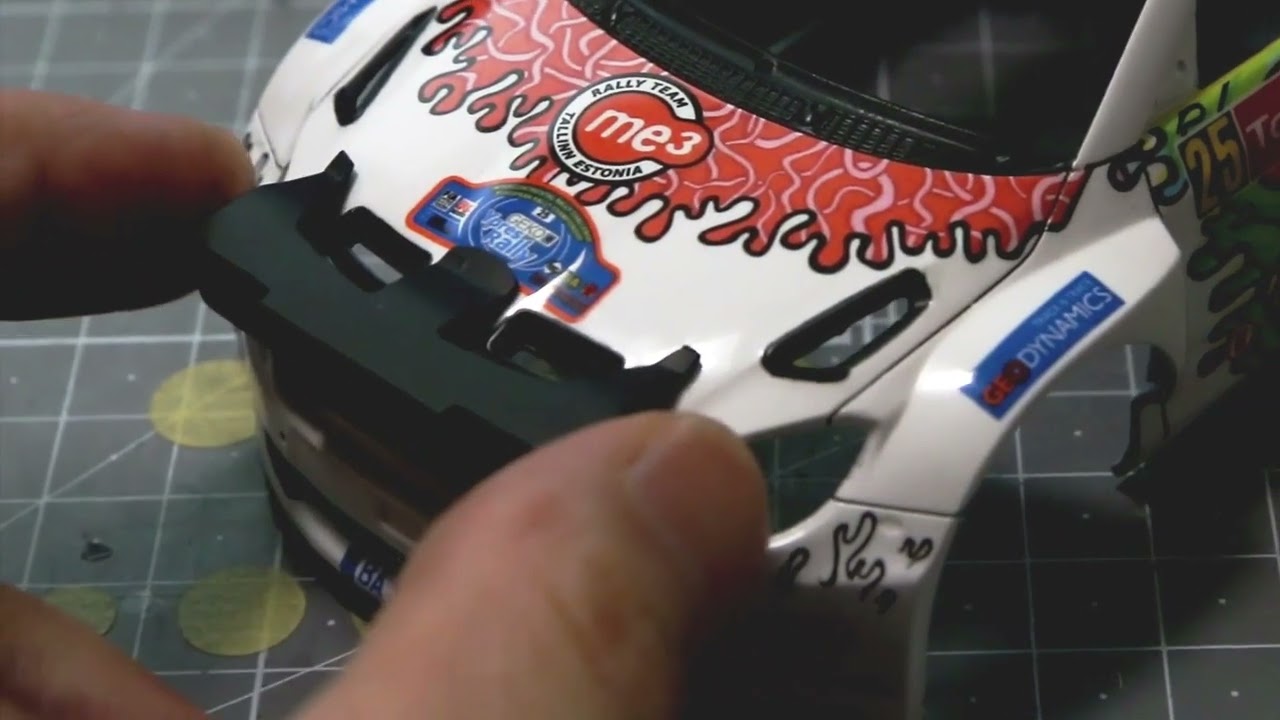
Skoda Fabia S2000 Evo Total Ypres Rally '11 (Job Log)
1
May 14, 2022Panel-line engraved.2
May 14, 2022Classification by paint color.3
May 14, 2022The inner surface of the white shell parts was painted black.4
May 14, 2022L: Gloss White after White Surfacer.
R: Gloss Black for Chrom paint. and painted other color.5
May 14, 2022Masking.6
May 14, 2022Chrome paint.7
May 14, 2022The paint applied to the etching peels off easily. So I applied the Vallejo Mecha Primer.8
May 14, 2022Decal.
The side decals are made in one piece and take about each 2 hours, and a total of over 6 hours.9
May 14, 2022Tail lamp masking...10
May 14, 2022Clear coat.11
May 14, 2022Surface levelling.12
May 14, 2022Polishied with compound (Tamiya Fine)
But, It's a result I'm not happy with.13
May 14, 2022Finally, I did the polishing again the next day. (done)14
May 14, 2022Finally, I did the polishing again the next day. (done)15
May 14, 2022Paint to panel-line and deep mold.16
May 14, 2022Brush painted Flat, Satin black.17
May 14, 2022Brush painted Flat, Satin black.18
May 14, 2022I brushed it with this.
Best recommended~19
May 14, 2022Continuing brush painting.20
May 14, 202221
May 14, 202222
May 14, 2022Clear coat to front and rear emblem.23
May 14, 2022I cut out the silver foil sticker included in the Bandai Pokemon kit and used it.24
May 14, 2022All done. Ready to assemble.25
May 16, 2022This is similar to VANTA Black. (Acrylic)26
May 16, 2022I started assembling it according to the manual.27
May 16, 2022The wheels were so loose that they had to be fixed with glue.28
May 16, 2022It was the most complex structure of the steer wheels I've ever made.29
May 16, 2022The sheet decal on the floor was attached less closely to give a sense of volume.
I plan to detail up only the shoulder side of the seat belt.30
May 16, 2022assembling interior.31
May 16, 2022Inner side of door.32
May 16, 2022Easy detail-up spare tyre.33
May 16, 2022A spare tire must be attached before the roll cage is fully assembled.34
May 16, 2022Then just attach the roof side roll bar. But overall, it is not easy to assemble.35
May 16, 2022Easy detail-up for shoulder harness.36
May 16, 2022After putting on the sheet to the proper length...37
May 16, 2022Wrap it around the roll bar at the back and attach it.38
May 16, 2022I used Hasegawa sheet for sub tail lamp39
May 16, 2022But it was invisible from the outside.
It was a waste of time.40
May 16, 2022I attached the front and rear lamp covers and other trivial parts...41
May 16, 2022It was not easy to combine the shell with the lower plate.42
May 16, 2022The wing and the trivial parts on the roof were attached.43
May 16, 2022For the bonnet hook, etching was included in the kit, but the detail was simple, so I used an etching sold separately.44
May 16, 2022Finally, by assembling the extension lamp...45
May 16, 2022Finish46
May 16, 2022Finish47
May 16, 2022Finish
Комментарии
17 February 2025, 18:50 -
Album info
Part-1/2 : motorart.tistory.com/460
Part-2/2 : motorart.tistory.com/463